For a solo weekend backpacking trip, a small 100-gram canister of cooking fuel is usually enough. As a general guideline, you should bring enough fuel to boil one liter of water per person, per meal, and keep in mind the boiling time and total burning time of your stove. Read on to discover how to calculate your fuel needs and how much fuel to bring backpacking.
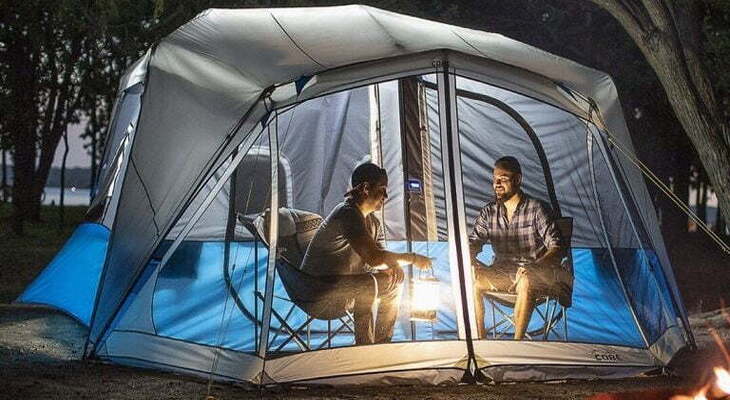
At the end of a long day on the trail, the cure for leg pain, shoulder inflammation, and growing stomach are hot food cooked in your trusty backpacker kitchen. Until you run out of fuel, of course.
Since the penalty for reducing fuel requirements is cold breakfast and dinner (or worse, not enough in the morning) many backpackers fill their fuel bottle to the brim or carry more jerry cans. They go as far as they think they will need. But this approach may mean that you are lifting unnecessary weights.
On the other hand, if you are a weight-conscious bag packer with confidence in math, you can estimate in advance how much fuel for backpacking you will need so that you do not use more than you are going to use. have been.
To help you calculate the amount of fuel on your backpacking trip, follow these general steps, which we will explain in detail below. In this article, we will go over the process of a canister fuel cooker. Note that you can also adjust the steps of the liquid fuel stove, although we will not elaborate on these differences here.
Plan the meal: The goal is to calculate how much water you are going to boil and the cooking time on the stove.
Estimate your fuel needs based on your plan: This is where the math for boiling and burning time comes into play.
Adjust the factors that will affect your fuel consumption: No project will be completed, especially if you are camping in the air or on high ground.
Contents
How to plan your backpack meal.
Since most hot baking packaging meals depend on the use of boiling water (think frozen dry baking packaging food, coffee, and tea, instant oatmeal, etc.), the first step in estimating fuel consumption is to identify whether How much boiling water will be needed. Travel
Quick planning: If you make a general estimate of the amount of fuel you will need to carry, the general consensus is to calculate the boiling water per person and a per liter of food.
Make a detailed plan: Will you use your kitchen for lunch, or have a cold meal on the go? Your frozen dry food may say it feeds two people, but you may need to double the amount to increase your appetite. Do you need to boil some of your food instead of just boiling water? Do you need to boil water or melt ice to drink? All of these changes affect your final fuel consumption.
How to calculate your fuel needs.
Once you’ve added the amount of water you need to boil, look at the springs in your cooker:
Boiling time tells you how quickly a cooker can boil a given amount of water under ideal conditions: for example, 3 minutes. 30 seconds per liter of water.
The burning time tells you how long you can run the stove with a certain amount of fuel: for example, 60 minutes. 230 g per drum. (Some brands list the size of the jug in ounces, so you may need some unit conversions.)
Another way to find cooker springs: If you have doubts about the performance of your cooker – or can’t find it, you can do your own test at home to see if you can How much fuel does a cooker need? Boil one liter of water and see how long it will burn with the given amount of fuel. This can be a bit confusing as some kitchen specifications use ounces and other grams, so you may have to change some units along the way.
Doing math
Once you know how much water you need to boil, multiply that amount by the time you cook for your particular kitchen. This will take you as many minutes as you want to boil all the water in your food.
Example: 2.5 liters (total water required) x 3 minutes. 30 seconds (boiling time in your kitchen) = 8 minutes. 45 seconds (boiling time in your kitchen).
Next, calculate what percentage of your stove’s total burning time is needed to boil this amount of water. You will do this by dividing the boiling time of your trip by the burning time of your cooker.
Example: 8 minutes. 45 seconds (cooking time for your trip) 60 minutes (total cooking time) = .15 (or 15%).
Then use this percentage to calculate how much fuel you will need to boil the whole amount of water. In this example, multiply your range by 15% of the amount of fuel described in the burning time details.
Example: 15% (.15) x 230 grams (total fuel) = 35 grams.
So this stove will use about 35 grams of fuel to boil 2.5 liters of water for your weekend trip (in ideal conditions). This is one-third of the most common small canisters on the market (100 grams, suppose you are using a canned stove instead of liquid fuel). If you need to use extra fuel for other factors, such as the ones listed below, you get a substantial discount.
Variables affecting fuel consumption
The specifications provided for your kitchen were measured in ideal conditions. Air, altitude, air temperature, and other conditions can also affect your fuel calculation before you leave. It is difficult to say how much of the following factors will affect your fuel consumption. If you are expected to encounter any of the following conditions, be careful when estimating your fuel requirements.
Slow cooker: Are you making pasta or any other type of food that needs to be boiled? Are you melting ice for drinking or boiling water to purify it? If so, you’ll need to carry more fuel.
Air: Air is the most common environmental factor that can seriously affect the performance of a backpacking stove. Air conditioning can literally dissipate most of the heat generated by your kitchen. In fact, if you’re expecting too much air (and don’t use a windshield with your kitchen), experts recommend that you carry twice as much fuel under the right conditions.
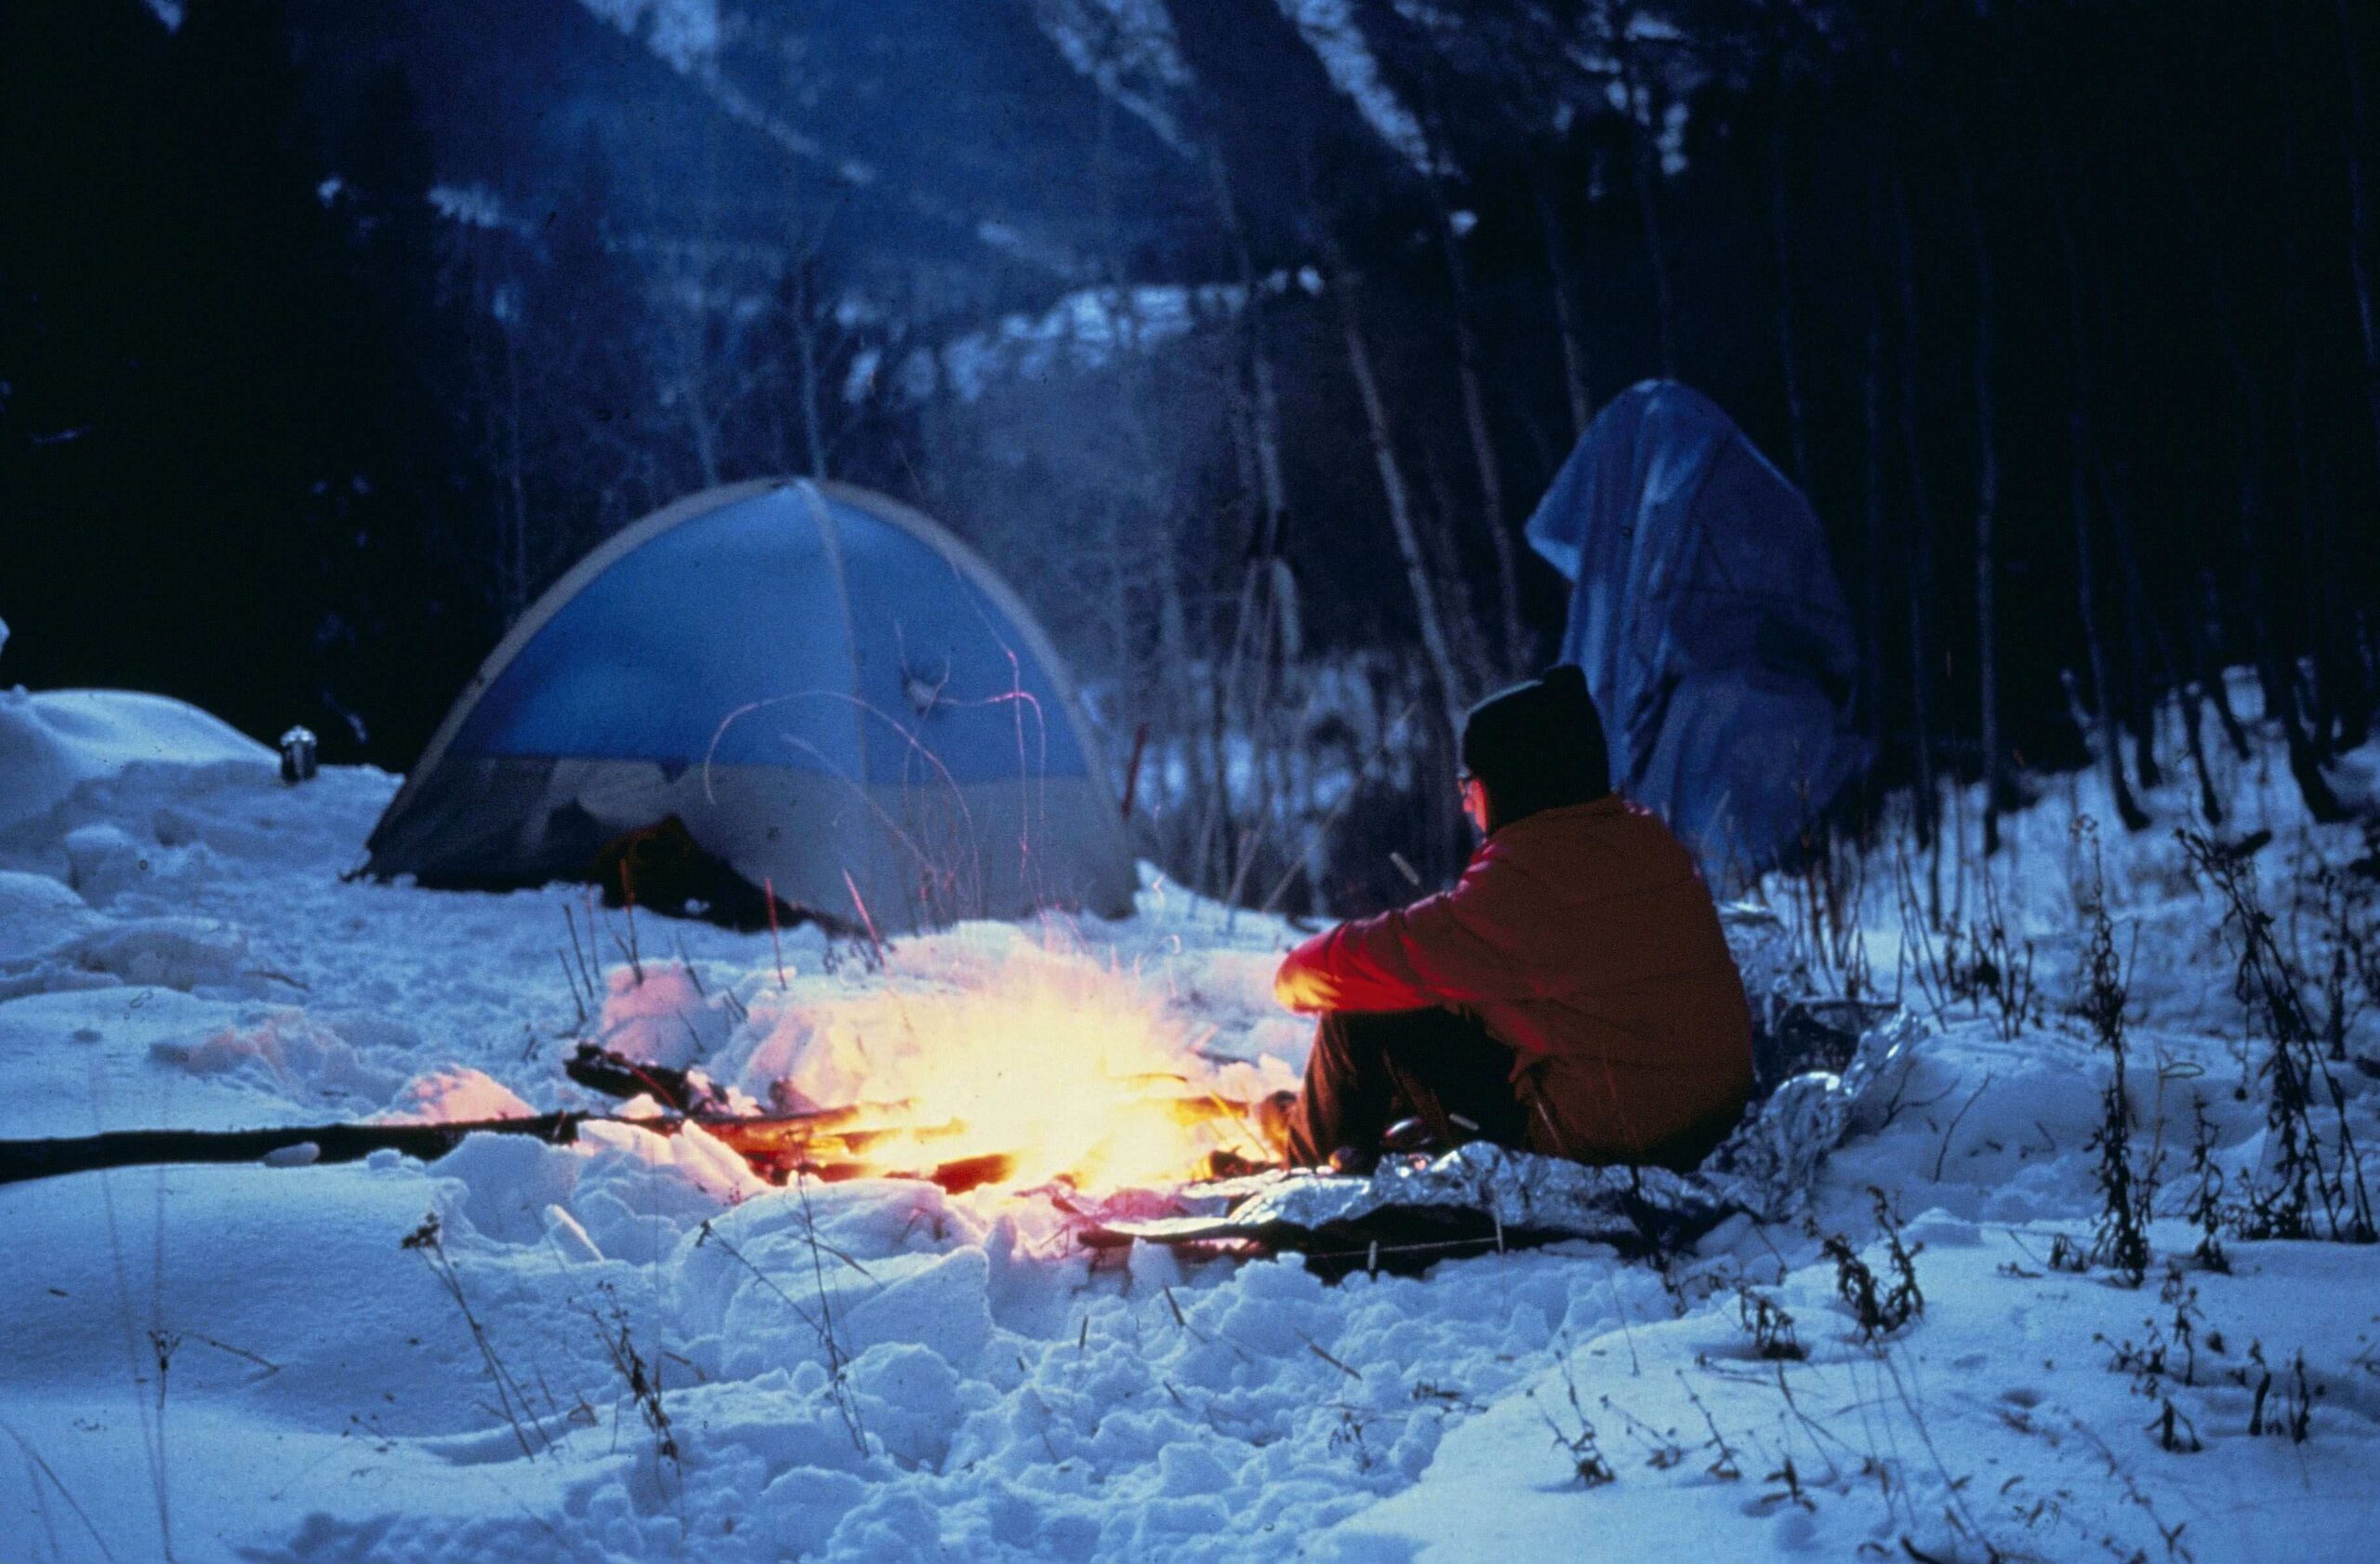
Air temperature: Ambient air temperature can also affect kitchen performance and fuel consumption. Of course, if the ambient temperature is low, the water that it picks up from the atmosphere is also likely to have a lower temperature, and it will take longer to boil that water. This, in turn, means that you will need to burn more fuel to reach full fermentation. In the field, almost starting with ice-cold water means that it may take a few more minutes to reach fermentation.
Boiling point: The boiling point of water (or any liquid) varies according to the pressure of the surrounding environment. As the altitude increases and the atmospheric pressure decreases, the boiling point drops (and vice versa). Thus, high altitudes reduce water boiling times.
Although water boils faster on mountain tops, reducing dehydration or preparing frozen dry foods, some foods take longer to cook at higher altitudes because they absorb water more slowly. According to kick-stop maker MSR, when it comes to cooking raw, cooking time will double every boiling point of 18 degrees Fahrenheit (approximately 10,000 feet above sea level).
In addition, high-performance kitchen performance can affect overall fuel consumption. Fortunately, some ranges are designed to regulate fuel pressure, to counteract any reduction in ambient air pressure. In addition, most liquid fuel stoves can be manually pressurized by pumping, thus compensating for any impact on performance due to changes in altitude.
Tips for improving kitchen performance
No matter where you are going, how long you plan to stay away, or how much fuel you plan to carry, there are many tips and tricks that can improve cooking performance. Can improve and help you use fuel more efficiently.
Prepare all your utensils and cooking utensils before lighting your stove. So you get ready to cook as soon as the stove burns, saving you precious seconds or even minutes of burning fuel when you stir with your grocery.
To maximize efficiency, run your stove slightly below full power, about a quarter turn less than full power. Running at full power will allow the water to boil faster, but it will dissipate heat from the sides of the vessel and send it into the atmosphere.
Cover your dishes. When water heats up, it quickly evaporates. The higher the evaporation rate, the slower the water will boil. Covering the pot reduces the vapor, thus reducing the time required for fermentation.
Use the windscreen. Fighting the effects of recurring winds can make a big difference in fuel economy. Yes, the windscreen adds a little weight to your pack, but it loses weight when you don’t have to carry much fuel. Note: This applies to liquid fuel stoves. You will not usually use windbreaks with canister ranges, as they need to avoid heat (although some canister ranges have specially designed windbreaks).
Get to know your kitchen and your appliances. Take note of the cooking performance and fuel consumption on your trips so that you know your decision-making the next time you go out.